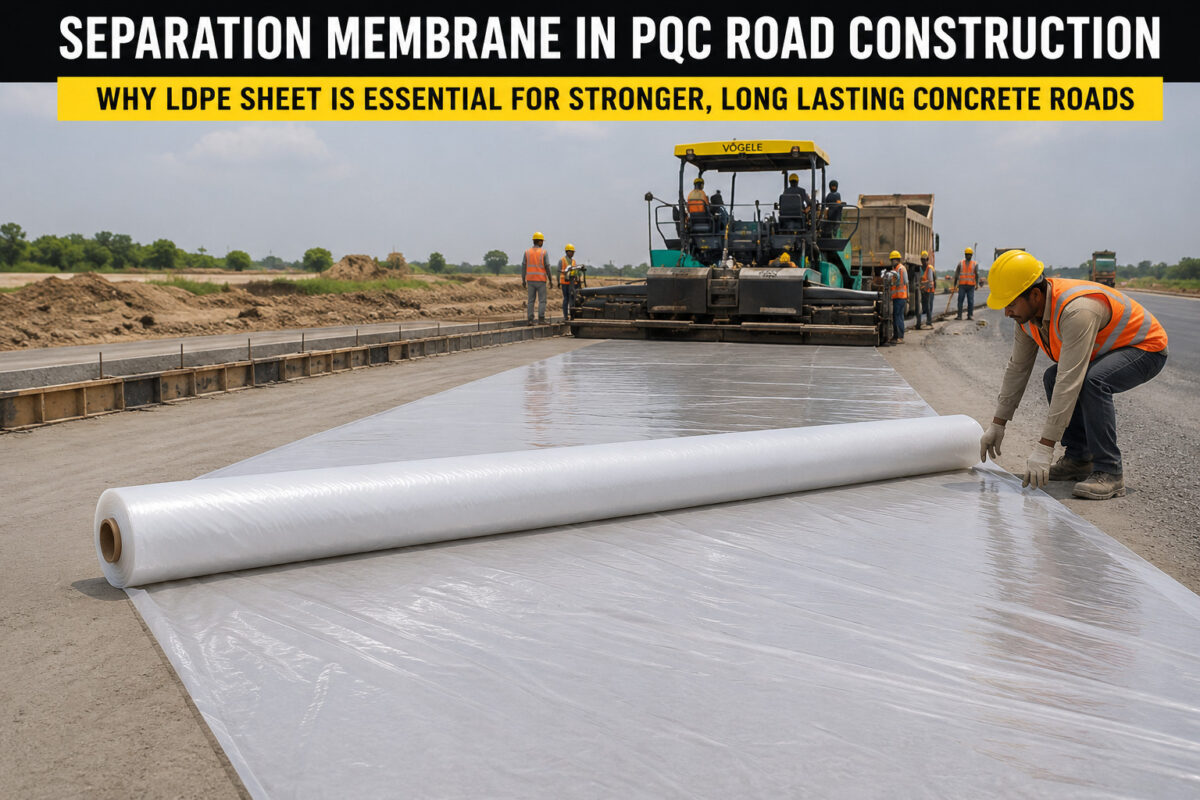
Walk onto any active rigid pavement site and you will see a thin plastic sheet being rolled out over the dry lean concrete just before the paver arrives. It looks like the least important material on the job. In reality, that sheet quietly decides whether the concrete slab above it behaves the way the designer intended.
That sheet is the separation membrane, and getting it right is one of the small details that separates a smooth, long lasting concrete road from one that starts cracking in random places within a couple of years.
This guide explains what a separation membrane does in PQC road construction, why low density polyethylene has become the default material for it, what thickness and specification you should be ordering, and how to lay it correctly on site. The aim is simple. By the end, a site engineer or procurement person should know exactly what to ask for and what to check.
What Is a Separation Membrane in PQC Road Construction?
A separation membrane is a thin, impermeable plastic sheet placed between the dry lean concrete sub base and the pavement quality concrete slab. In rigid pavement work it is also called a debonding layer or, on many sites, simply the polythene sheet.
Its name describes its job. It separates the two concrete layers so they do not bond into one mass. A PQC slab needs to move. It contracts as it cures and as temperatures drop, and it expands when temperatures rise. If the underside of that slab were glued to a rough DLC surface, every one of those movements would be fought by friction. The result is uncontrolled cracking.
The membrane gives the slab a low friction plane to slide on. That single function protects the entire crack control strategy of the pavement.
Why a PQC Slab Needs a Separation Membrane
It helps to think about what is happening underneath a fresh concrete road during its first few weeks.
Drying shrinkage:
Concrete shrinks as it loses moisture and hydrates. A long slab wants to shorten. If the DLC below grips it, the slab cannot shorten freely, and tensile stress builds until the concrete tears.
Thermal movement:
Day and night temperature swings make the slab expand and contract continuously. This is daily, lifelong movement, not a one-time event.
Warping and curling:
The top and bottom of a slab are rarely at the same temperature or moisture level. This makes slab corners and edges lift slightly. A bonded base resists this and concentrates stress.
Moisture loss into the base:
Fresh concrete placed directly on a dry, absorbent DLC surface loses water downward. That weakens the bottom of the slab exactly where you do not want weakness.
A separation membrane addresses all of these at once. It cuts friction so the slab can move, and being impermeable, it stops the fresh mix from bleeding water into the sub base. The contraction joints you cut later can then do their job, opening cleanly and keeping cracks where the design wants them.
This is why the membrane is treated as part of the joint system, not as an afterthought. It works hand in hand with the contraction joints, the dowel bar assembly at transverse joints, and the expansion joint board at structures. Remove the membrane and the rest of that system loses reliability.
Why LDPE Is the Standard Choice
Several materials can technically separate two concrete layers. Bitumen coatings, building paper, and PVC sheeting have all been used at some point. On modern PQC highway work in India, low density polyethylene, or LDPE, has become the accepted standard. There are solid reasons for that.
It is genuinely impermeable:
A good LDPE sheet does not let bleed water pass through. That protects the bottom fibre of the slab and keeps the base from drinking the mix water.
It is flexible and conforms well:
LDPE drapes over minor surface texture without tearing. It lies flat with very few creases, which matters because creases telegraph into the slab soffit and create friction points.
It has a low coefficient of friction:
A smooth polyethylene surface lets the slab slide with minimal resistance, which is the entire point of the layer.
It resists tearing during the pour:
Boots, screed vibrators, and the weight of fresh concrete all act on the sheet. Virgin LDPE has enough tensile strength and elongation to survive that handling.
It is consistent and affordabl:
LDPE film is produced to predictable thickness and width, it is easy to transport in rolls, and it costs little compared with the value it protects.
PVC can do a similar job but tends to be costlier and stiffer. Bitumen debonding coats are messy, slow, and hard to apply evenly. Building paper absorbs water and is simply not impermeable. Once you weigh performance against cost and ease of handling, LDPE wins on every practical measure, which is why a properly specified separation membrane is almost always an LDPE sheet.
LDPE Separation Membrane Specifications You Should Know
Specifications vary slightly between project authorities and contract documents, so always read the particular specification for your job. That said, the common reference points are worth knowing.
| Parameter | Common Requirement | Notes |
| Material | Virgin low density polyethylene | Recycled plastic, filler, or carbon black material is not acceptable |
| Thickness | 125 micron as per MoRTH clause 602.5 | Some project specifications call for thicker sheeting, so check the contract |
| Colour | Transparent or white | Helps confirm it is virgin material and not recycled stock |
| Minimum width | Around 4.0 m | Wide rolls reduce the number of joints in the sheet |
| Overlap at joints | Minimum 300 mm | Overlaps should run with the paving direction |
| Surface condition | Laid flat with minimum creases | Creases create friction and weak lines in the slab soffit |
The thickness point is the one buyers get wrong most often. A sheet sold as cheap “polythene” may be far thinner than 125 microns or may be made from recycled material that tears the moment a boot lands on it. For PQC work, insist on virgin LDPE at the specified micron value. The cost difference per square meter is tiny. The cost of a torn membrane and a poorly behaving slab is not.
Step by Step: How to Lay a Separation Membrane on Site
Laying the membrane is quick, but the sequence and the checks matter.
1. Finish and accept the DLC:
The dry lean concrete sub base must be cured, accepted, and at the correct level and profile before the membrane goes down.
2. Clean the surface thoroughly:
Sweep the DLC and use an air compressor to blow off dust, loose aggregate, and debris. Anything left under the sheet becomes a hard point that can puncture it.
3. Check the DLC for sharp projections:
Knock down any protruding aggregate or hardened lumps. A smooth base protects the sheet.
4. Roll out the LDPE in the paving direction:
Position the roll so the sheet runs the way the paver will travel. Keep it flat and pull out creases as you go.
5. Lap adjacent sheets correctly:
Overlap by at least 300 mm and arrange laps so the upstream sheet sits over the downstream sheet, like roof shingles, so the paver does not catch an edge.
6. Secure against wind:
LDPE is light and lifts easily. Hold edges with sand bags, soil, or small weights until the concrete covers it. Damaged sheeting should be replaced, not patched over.
7. Lay just ahead of paving:
Do not roll out long lengths days in advance. Membrane placed too early collects dust, gets walked on, and tears. Keep it slightly ahead of the paver.
8. Protect string lines and embedded items:
When the membrane is being placed near the edge forms, peg rods, and sensor wire used for grade control, take care not to disturb the reference system the paver depends on.
A clean base, a flat sheet, correct overlaps, and good wind control are the whole task. None of it is difficult. It just needs attention.
Common Mistakes to Avoid
Even experienced crews slip up on the membrane because it feels minor. These are the errors that actually cost money.
• Using recycled or unbranded polythene:
It tears, it may not be fully impermeable, and it fails the specification. Always use virgin LDPE.
• Ordering the wrong thickness:
A sheet thinner than the specified micron value will not survive the pour.
• Leaving the DLC dirty:
Dust and loose aggregate under the sheet create friction points and puncture risks.
• Too little overlap:
Laps under 300 mm let bleed water and fresh paste find a path into the base.
• Lapping against the paving direction:
Laps that face the paver get caught and dragged.
•Heavy creasing:
Big creases imprint into the slab underside and act like friction ridges.
• Placing the sheet too far ahead:
It gets damaged by site traffic, weather, and dust before the concrete arrives.
•Ignoring small tears:
A torn sheet is no longer continuous. Replace damaged sections before paving.
Best Practices for Separation Membrane Installation
• Buy virgin LDPE at the specified thickness from a reliable source and keep the test certificate on file for the engineer.
•Store rolls under cover and out of direct sun so the film does not become brittle before use.
•Inspect and clean the DLC immediately before the sheet goes down, not the day before.
•Keep membrane placement just ahead of the paver as a rolling operation.
•Walk the laid sheet and flatten creases and laps before concrete arrives.
•Treat the membrane as part of the joint and dowel system, and brief the crew that it protects crack control, not just moisture.
• Keep spare rolls on site so damaged sections can be replaced without holding up the paver.
Conclusion
The separation membrane is small, cheap, and easy to overlook, yet it underpins how a concrete pavement cracks, moves, and ages. A properly specified LDPE sheet of the correct thickness, laid flat over a clean DLC base with sound overlaps, gives the slab the low friction plane it needs and keeps water where it belongs.
Treat the membrane as part of the crack control system, alongside contraction joints and the dowel bar assembly, and brief your crew to handle it with the same care they give to reinforcement. Specify virgin LDPE, check the thickness against your contract, and never substitute cheap recycled polythene. It is one of the simplest decisions on a PQC project, and one of the easiest to get quietly wrong.
Frequently Asked Questions
What is the purpose of a separation membrane in PQC road construction?
A separation membrane is a thin impermeable plastic sheet laid between the DLC sub base and the PQC slab. It lets the slab move freely during shrinkage and temperature changes, stops bonding between the two layers, and prevents fresh concrete from losing water into the base.
Why is LDPE used as a separation membrane?
LDPE is impermeable, flexible, low friction, and tear resistant, and it is affordable and easy to handle in wide rolls. These properties make it the most practical material for separating a PQC slab from its sub base, which is why it has become the standard choice.
What thickness should a separation membrane be?
A common requirement is 125 micron LDPE as per MoRTH clause 602.5. Some project specifications ask for thicker sheeting, so always confirm the thickness in your contract documents before ordering.
Is LDPE sheet the same as ordinary polythene sheet?
Not always. LDPE is a specific virgin grade of polyethylene with controlled thickness and strength. Ordinary or recycled polythene may be thinner, weaker, and not fully impermeable, so it should not be substituted for a specified LDPE membrane.
What happens if a separation membrane is not used?
Without a membrane the slab bonds to the rough DLC, friction resists its movement, and shrinkage and thermal stress cause uncontrolled cracking. The slab also loses mix water into the base, which weakens its underside.
How much overlap is needed between membrane sheets?
Adjacent sheets should overlap by at least 300 mm, with the laps arranged in the direction of paving so the paver does not catch an edge.
Can a separation membrane be reused?
No. The membrane is covered permanently by the concrete slab and becomes a built in part of the pavement. Any sheet damaged before paving should be replaced, not reused.
When should the membrane be laid relative to paving?
It should be laid just ahead of the paver as a rolling operation. Placing it too early exposes it to dust, site traffic, and weather damage.
Related Blogs
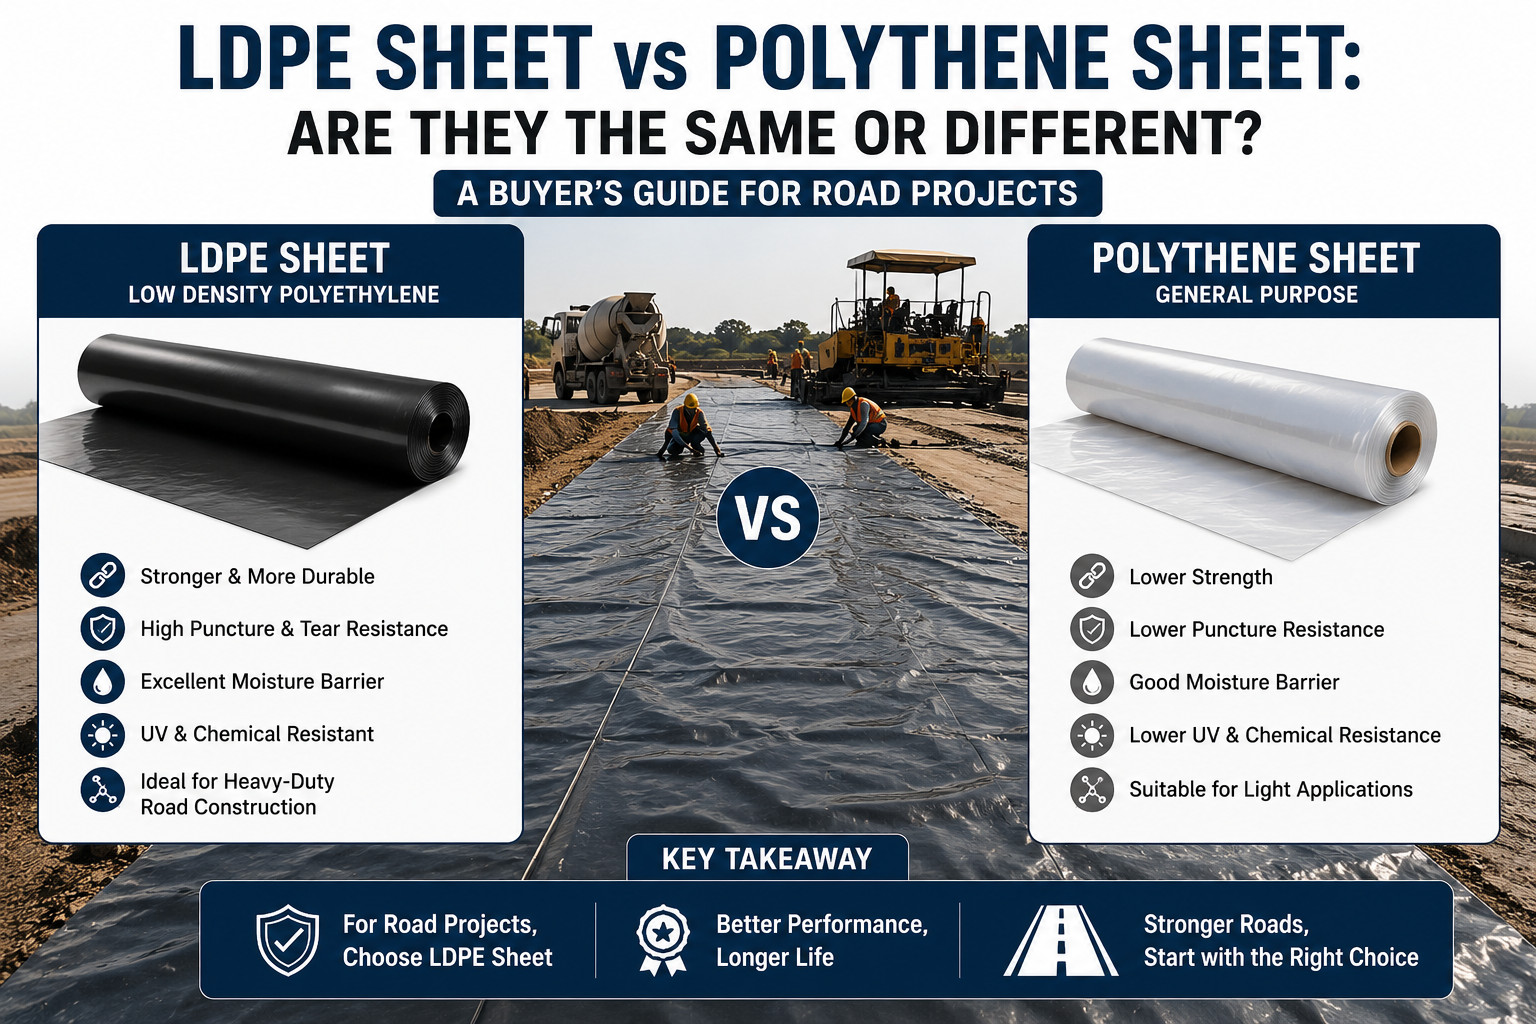
LDPE Sheet vs Polythene Sheet: Are They the Same or Different? A Buyer’s Guide for Road Projects
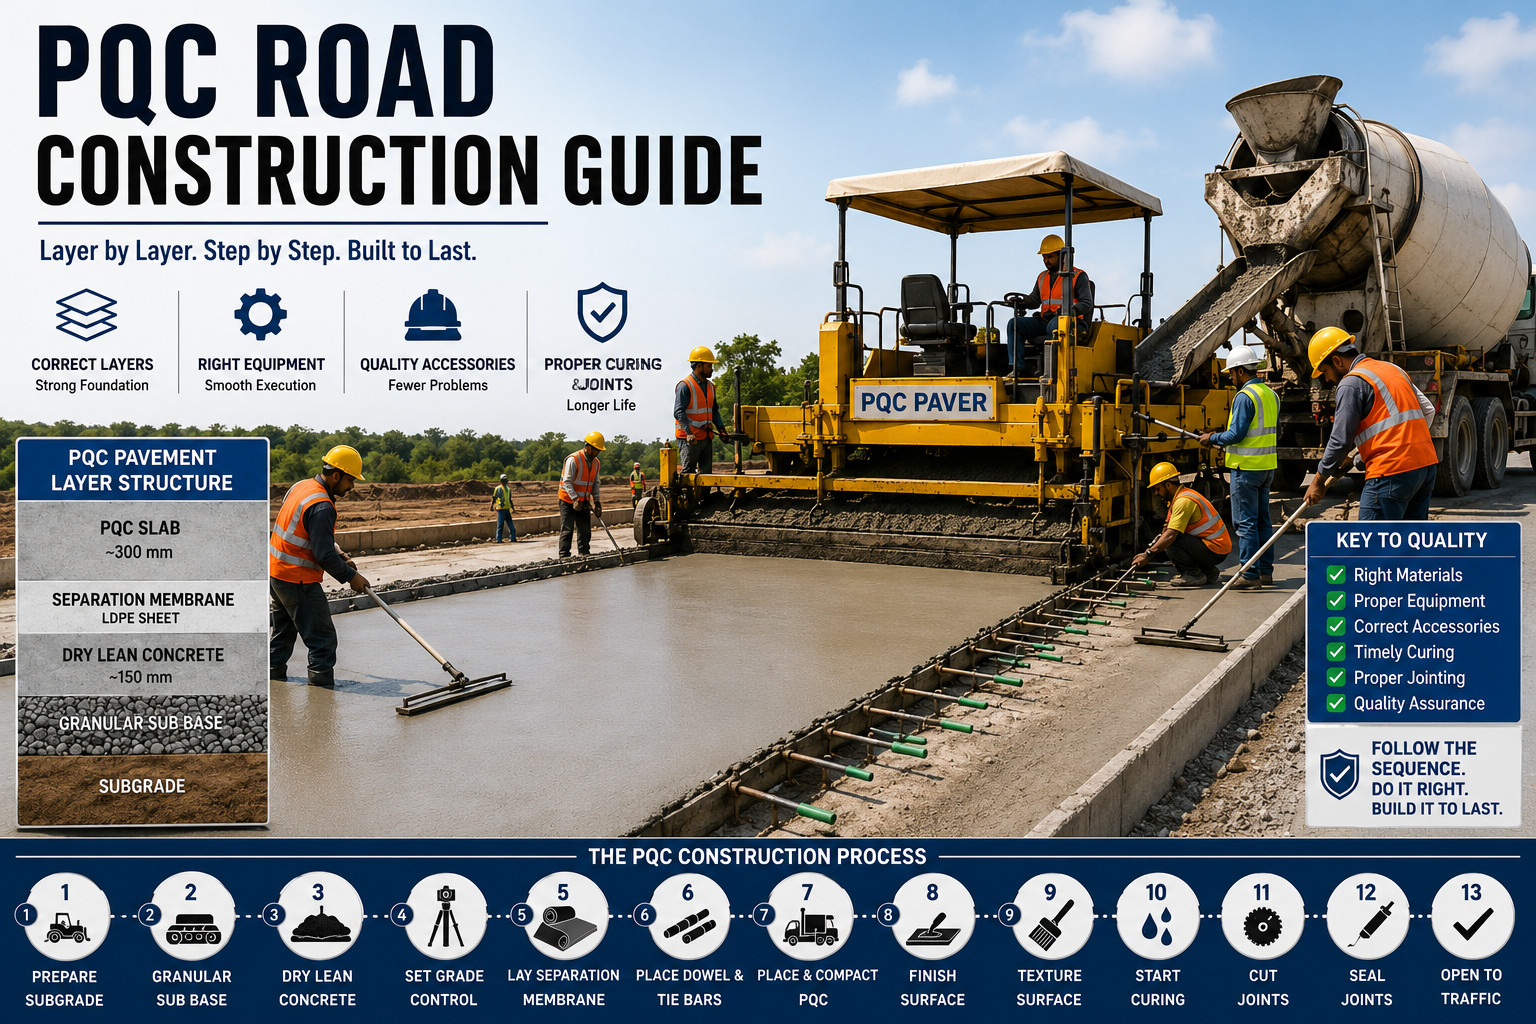
PQC Road Construction Step by Step: Materials, Equipment, and Accessories Required
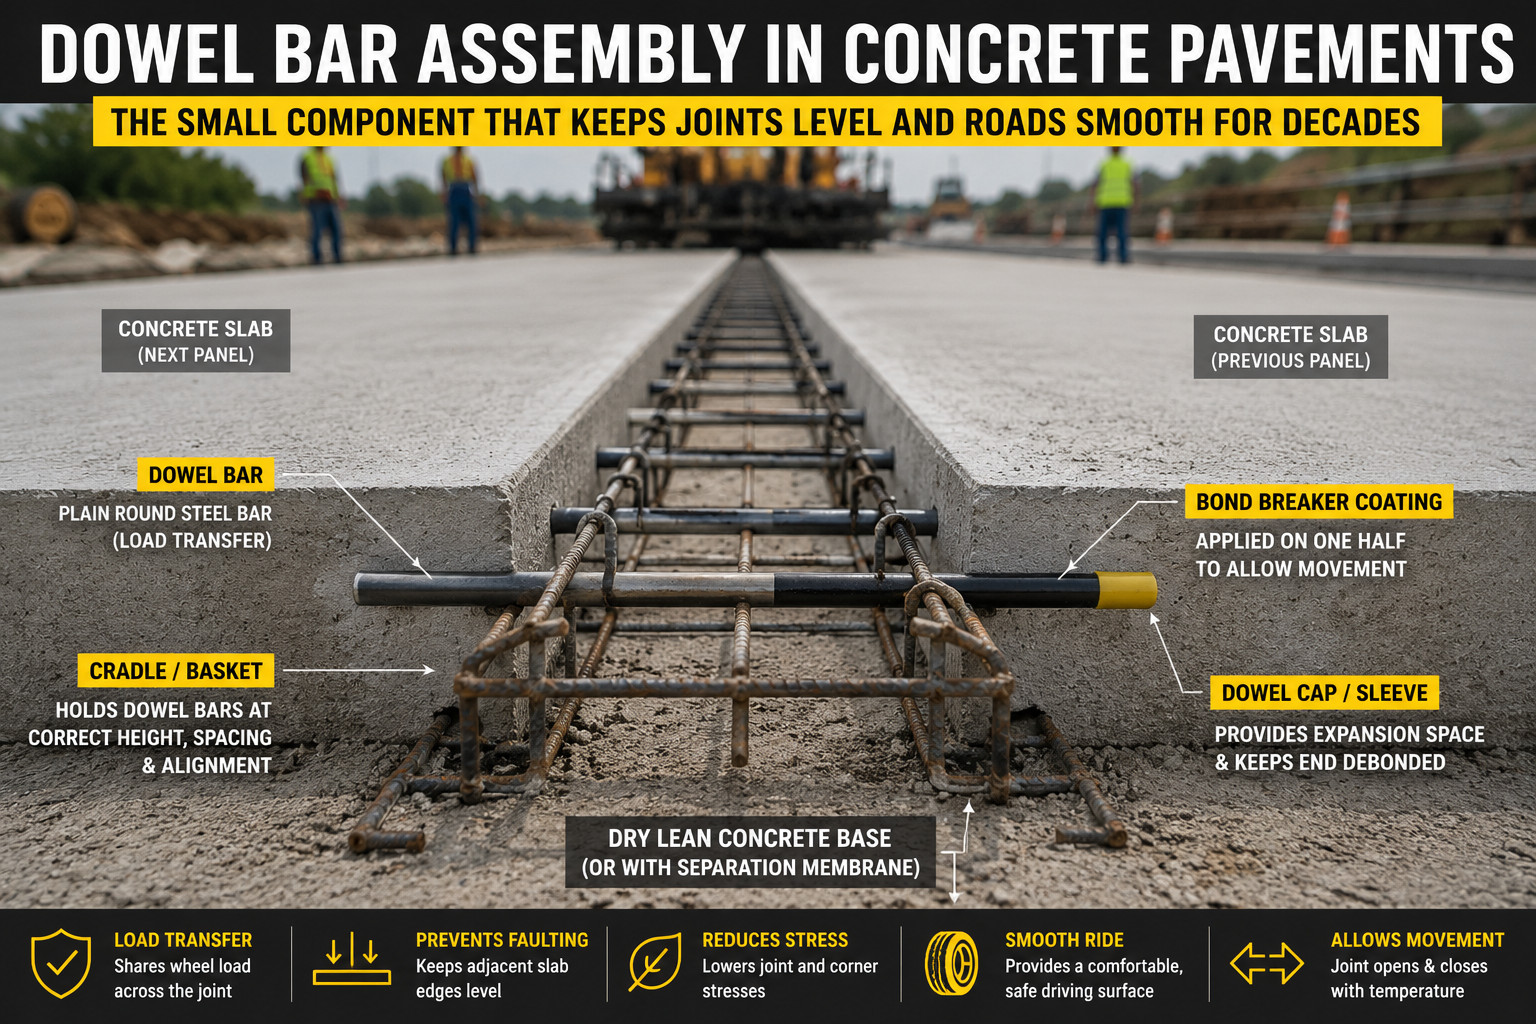
Dowel Bar Assembly in Rigid Pavement: Sleeves, Caps, and Correct Installation